Showing posts with label Crafty. Show all posts

Monday, April 15, 2013

Spring Cleaning

Another post from my Spring Bucket List. As much fun as all the food and activities are, I put spring cleaning on my list for some motivation to get stuff done. I didn't actually clean my whole room. I limited my cleaning to the reorganization of my closet. With all the crafting I've been doing, the shelf in my closet became unruly. I'd been storing stuff I meant to up-cycle on my floor and I had already begun to clean out my wardrobe so it was getting a little out of hand. Here are the before pictures.

View from the door: All that stuff on the right is on the floor because I had literally no other place for it. The big blue bin is full of sorority shirts.

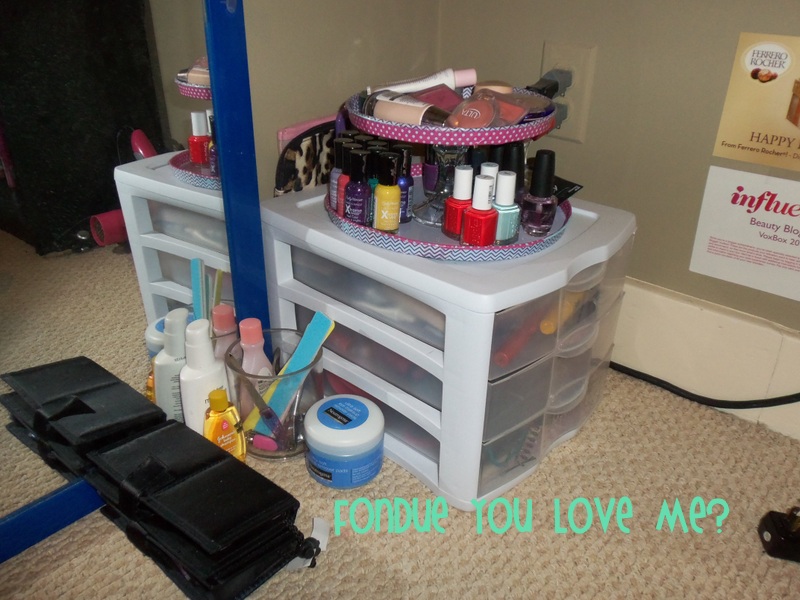
The cubes on the back wall were over flowing, particularly with purses and hoodies. As you can see, they also were home to all the beauty products that didn't fit on my shelf in the bathroom.

#shortpeopleproblems. I had just been tossing things up there because it had been so hard to get things off the shelf and put them back up in an orderly manner.

I began by clearing the shelf off and pulling everything out that was on the floor. Which gave me a tiny panic attack because it just made a big pile of stuff in my room that would all have to find a home before I could go to bed. Just look at the mess!

What you can't see is the pile that also took over my closet and how I was stuck in the closet while I attempted to reorganize.

I set my priority at the beginning: Crafting. I wanted all my crafting supplies organized in such a way that it would be easy to find what I was looking for. All those pretty patterned boxes and only one small box was dedicated to crafting. I knew I could consolidate my other boxes to make room for more crafty things. I ended up making all 6 pretty patterned boxes craft stuff along with a clear plastic tote for current projects so I wouldn't get down all 6 for one project.

All the sorority clothes and bag made it into the blue tote. The plastic bag just has plastic bags in it to use as garbage bags. The cubes got reorganized and the beauty supplies were consolidated down to just one shoe box and my box of samples.

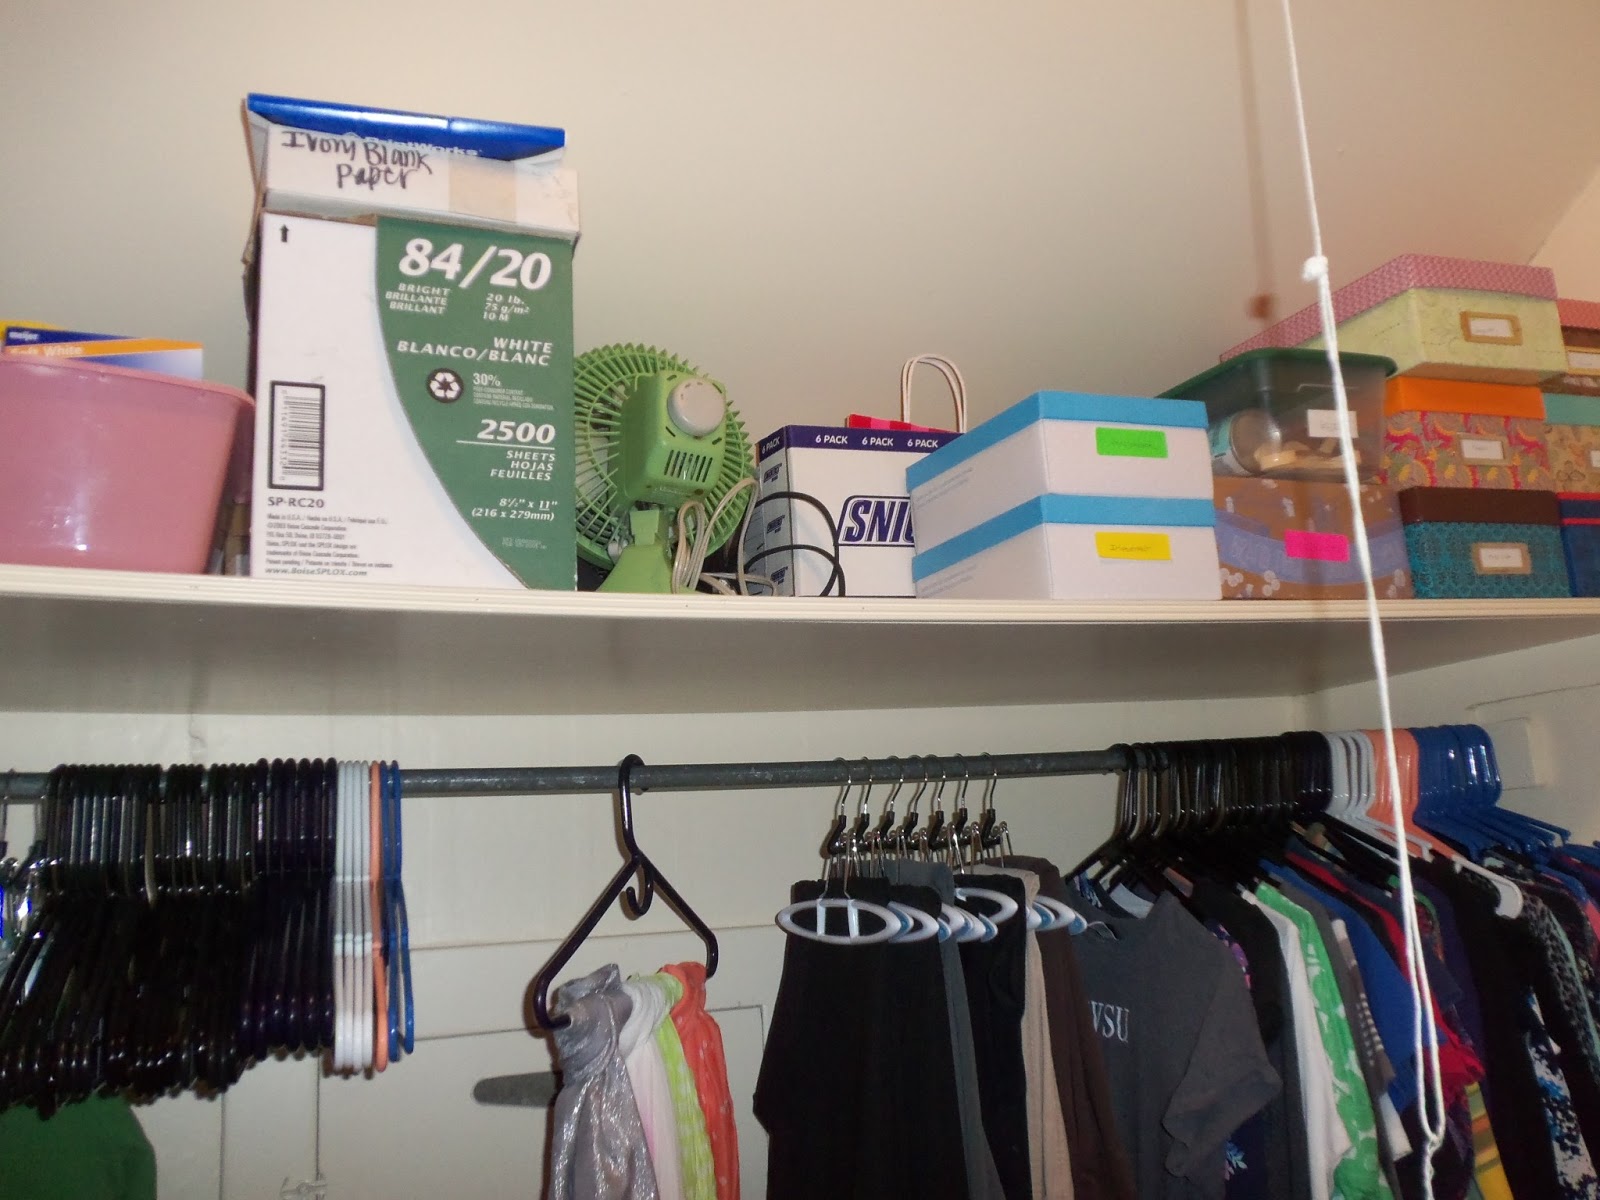
All the stuff I use regularly got pulled to the front and everything else creates a secondary row at the back of the shelf. The big box of papers got sorted into two shoe boxes that have been labeled to make it easier.

The best part of this whole project? I can find what I need now and the whole thing cost me absolutely nothing. I didn't have to spend any money buying new organizational tools. I just rethought some stuff I already had and created a priority for the space. Perfect!

Thursday, April 11, 2013

Tiered Make Up Stand

I've been seeing all these cute little tiered stands on Pinterest. Like this little cutie from BHG. And then I realized the Dollar Store could be the perfect place to find what I'm looking for. So I walked around the Dollar Tree for approximately a million hours looking at all my options for trays and while I love their metal serving platters, I wanted the proportions of a small platter on top of a larger platter. I finally settled on some burner covers to get the proportions. I went to the craft store with a plan but as all my projects seem to go, the execution altered from my plan.

Supplies: Burner covers, super glue, candlestick, spray paint, and washi tape.
The original plan was to spray paint the tops and bottoms of the covers and maybe add some washi tape to the edge. That is not quite how it went.

After doing a test on the back of the trays, I didn't like the paint. I wasn't sure if it was the brand or the can or operator error but it spattered everywhere while I was spraying and created big splotches. It was a mess. And that little spot on the little cover? I sprayed that and the paint literally repelled off so that was it for the paint. I got the great idea that I could use the washi tape to add some flair to the edges  and leave the inside of the covers (mostly) white.

I did the little cover with pink washi tape and the big cover with purple chevron washi tape.

 I decided to clean up the inside edge too so I added the opposite color on the inside edge.

Then I just super glued the whole situation together.

And there she is all set up with my make up. I think after all this, I'm going to remake it some day. But for now it works and its cute. Plus it gives me a place to display my nail polish.

Tuesday, April 9, 2013

Fabric Covered Cork Boards

I have a problem. I love pictures so much that if I'm not careful, they will take over my room. I just love seeing the things that make me happy every day. And for the last 18 months, that has been my nephew. So obviously, I need pictures of him from every age all over my walls at all times. Well not all over. My OCD does apply to my walls so one wall is AST stuff, one wall is for my family and friends, and one has art I picked out from the arts & crafts festival in East Lansing. But anyways, the wall over my desk felt like it was missing something and I acquired some small square cork boards when we cleaned out the chapter room.  I didn't like the brown color so I decided to cover them with some leftover fabric from my stash. This project cost me NOTHING! Yay! So here's how they came together...

Seriously. Just cork boards, fabric, scissors, and a stapler. You might want some push pins to hold the fabric in place while you're folding and stapling it into place.

See my little push pins? So helpful when you're making sure the pattern stays the where you want it. Also, ironing it first and then adding creases as you go might help. That just sounded like a lot of work and I didn't want to drag my iron out.

Add some ribbons to the back if you like that look. I attached them with a little fabric glue and a couple of staples. I just wanted to make sure they wouldn't fall off my wall.

Aww they're cute! The green and black fabric is leftover from Grace and my failed attempt to make letters when she first joined. I really like that I get to look at it everyday and be reminded of those memories.The other fabric is just something I accumulated when my big graduated.

Now I realize the black frame isn't straight. I straightened it out before I took the picture but I'm pretty sure it hates me because it does that every time I straighten it. Also I just noticed one of the pics I put on my new cork board is also framed so I'll print something new to put up there. Oh well.

What do you think?! So cute right? Do you have any projects that you made from just stuff you had? It's the best when something like this comes together with no extra investments.

Monday, March 25, 2013

Easter Eggs

Here's the first from the spring bucket list. One thing I didn't remember about dying Easter eggs is how long it takes. I also did not know that you should buy egg dye from the dollar store. It didn't make for great colors. But it was a blast! And the best part? We made deviled eggs. :) It was a good time.


Monday, March 18, 2013

Easter Mail

Last year, for Liam's first Easter, I mailed him a giant plastic egg with lots of goodies in it. This year, I found an even bigger plastic egg so I could send him the coolest Easter present ever. And it really is the coolest. I want one for myself. I got him... Wait for it... A DOCTOR BUNNY! That's right. This little etsy shop made me an 11th Doctor bunny. I almost kept it. Almost. He's just so soft and cuddly. I just love him.


I got the egg from the Dollar Tree but last year I just bought a big egg from Walmart and pulled the candy out of it. I wasn't sure how much would fit in the egg after the bunny so I just bought the yogurt tube and the socks to start. I like to get Liam practical things because at this age, everyone spoils him with toys but he has lots of toys and his momma always appreciates stuff they buy anyways. Another thought: buy paper grass. Babies can choke on the plastic grass but at least the paper grass falls apart. Although the grass seemed a little pointless this year because there was not a ton of room after I got the stuff in there. Anyways. Check out that little bow tie and suspenders on the bunny. This woman is an artist, I tell you. So this project is pretty self explanatory but just to make sure: seal your edges with packing tape. This egg snaps together really securely but the tape is still smart. Don't want your bunny taking a solo adventure through the post office. So there you have it. I also included pictures from last year's egg. That one had sunglasses, socks, and pacis. 


Tuesday, February 19, 2013

Knotted Headband

I love to crochet. It's a skill I try to hide. I've always been afraid that people judge me. It's kind of an old lady thing. But it's really easy because most of the time, if you make a mistake, it doesn't take long to fix or you can incorporate it. Crocheting is really easy to modify and improvise. I've loved making stuffed animals in the past and I'm sure I'll go back to that at some point, especially when Liam is old enough for safety eyes and small details but right now I'm pretty satisfied with projects that I can work on for an hour. I don't really have the time for multiple pieces or remembering rows and counting lots of stitches. This headband came together in an about an hour and a half because I got to row two ripped it back to the chain row and started over. This is a great beginner project. My little love loves it and I can't wait to alter the pattern a little and make it for the grand little love! Check out my pretty little love modeling her new headband below! If you have a great pattern for a simple project, send it my way because I need simple projects that aren't scarves.


Thursday, February 7, 2013

Heart Attack!

It's almost Valentine's Day!!! I like sending the nephew mail for holidays. For Valentine's Day, I'm sent him a heart attack! I decorated the outside of a box with hearts and put a stuffed monkey inside with lots of paper hearts so it's an "attack" of hearts when it arrives! I thought it was a sweet way to send mail to a kid. I <3 you, Liam!!!


Tuesday, February 5, 2013

DIY Tank Top

My biggest boy pet peeve? Muscle shirts. And women wearing a boy's muscle shirt with a sports bra. But I get the appeal. It's cooler and easier to move in. But I don't want to wear a shirt that looks like it belongs to a boy. And tank tops made for women are usually too tight. When we went to Cedar Point last summer, I made one of these tank tops and I absolutely love it. I used one of Joe's that was stained and he was going to throw away anyways.
  1. Cut off the arms and neck. Cut them a little deeper that just the seam.
  2. Turn the shirt over and cut a little deeper just off the back of the neck and the arms.
  3. Using part of the shirt that you cut off, pull a strip through both sleeves and tie a double knot.
If you're like me and you don't like working out in just a bra, this is a great option. There are a lot of other variations on the internet. I have two more of Joe's old shirts to work with so I might try something different with the next one. 


Monday, February 4, 2013

Sorority Paddles

It took me a long time to learn the tricks to making a cool paddle. If you're not creative, it's hard to know what you're doing. I just finished Emily's "Tacky Christmas" Themed Paddle and I thought I'd give you a couple of tips for making a great paddle.


  • Always make a plan before you start. There is nothing worse than getting started and realizing there was a way cooler way to do something.
  • When you're painting, be a perfectionist. Nothing ruins the look a paddle more than smudges and lines that aren't quite straight.
  • Details matter. Just because you're going simple doesn't mean you can't make every detail perfect. With the tacky sweater pattern, I painted a little "v" texture into the shapes so that it had that sweater look.
  • Clear coat. It really is necessary. It makes the paddle look so finished and polished.
  • If you're gonna go big, go big. Those Christmas lights light up and I searched everywhere for that mini garland.
Did you make a cool paddle? Send me a pic or a link because I'd love to see it!